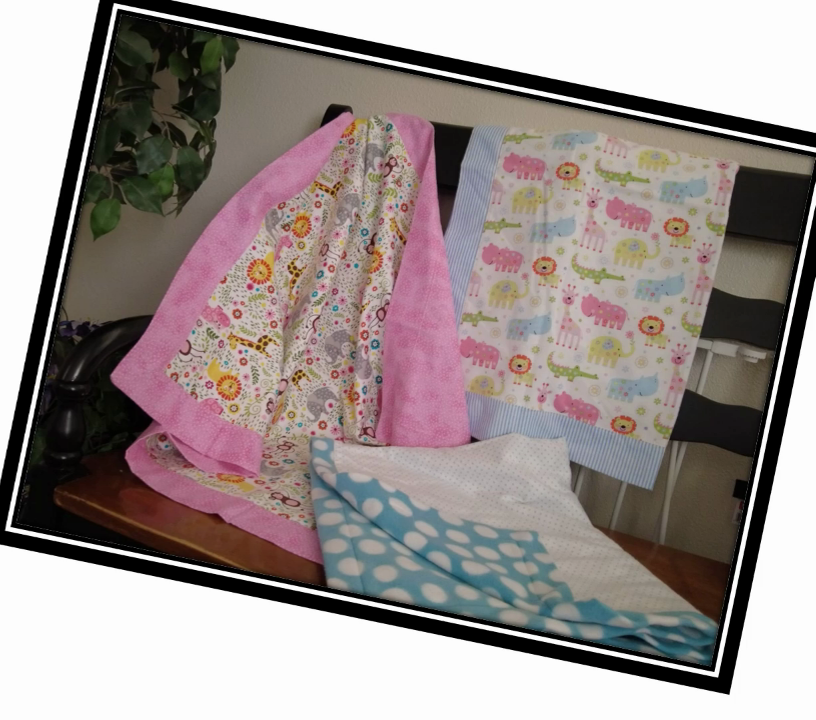
Are you ready to embark on a delightful journey of creating the coziest, cutest self-binding baby blankets? Well, grab your sewing kit, and let’s dive into this easy, quick tutorial together. You can also watch the video at the bottom of this post.
Let’s Get Started

First things first, gather your usual sewing supplies. For this project, you’ll need a 30-inch square for the front and a 40-inch square for the back. Remember, the back piece wraps around to the front, so pick a piece that will compliment your main front fabric.
Step 1:
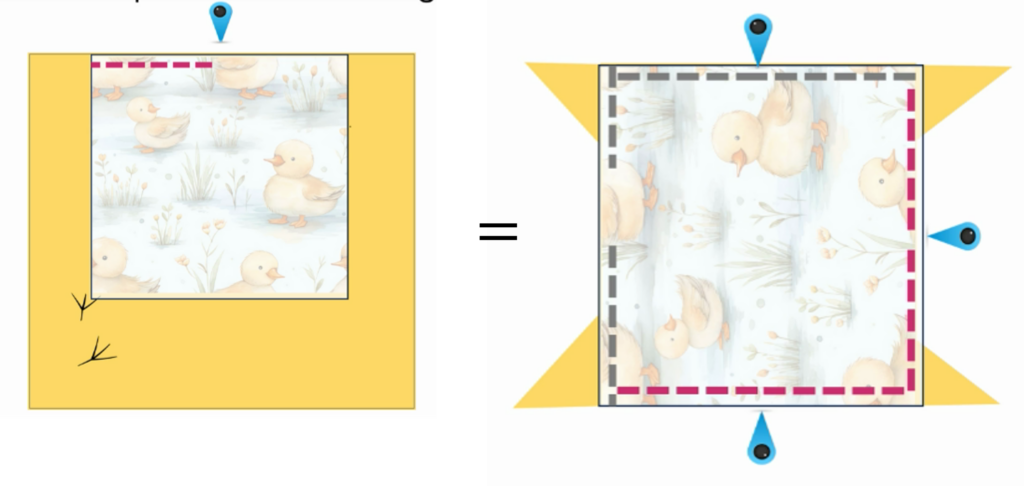
Starting with the front piece of fabric, find the center point of each side by matching the corners and pinning the center of each side.

Step 2:
Next, with right sides together, line up one side of the front and back fabric at the center point and pin together. Do this for all four sides. After all centers have been pinned together, smooth out one side making sure edges align and pin the corners of the top fabric to the backing fabric. The corners will not match.

Step 3:
Use a 1/4″ seam allowance. To minimize fabric shifting, sew from the center to each corner leaving 1/4″. Make sure to leave about 4″ in the middle of one side to turn the blanket. Sew all four sides.

Step 4:
You’re almost done! Turn the blanket inside out. Make sure to poke out those corners. Press and then top stitch to close the opening and keep seams flat. I also like to top stitch around the outer edge to give the blanket a nice finished look. That’s all there is to it. These blankets make the perfect gift. My grandchildren love them!
This same technique can be used with table runners and placements. Just determine how big you want the binding portion to show on the front, then double that and add to the dimensions of the front square. So for example, if I am making a table runner that will finish at 14″ x 38″ and the top piece I will use is is 12″ x 36″ plus I want 2″ border (binding) to show on the front of the runner, I will add 4″ on the top, 4″ on the bottom and 4″ on each side to the 12″ x 36″ runner. Then I also need to add 1″ total for top and bottom and add 1″ total for the sides if I use a 1/4″ seam allowance. So my cut pieces would be as follows:
- Top = 12 – 1/2″ x 36 – 1/2″
- Bottom – 21″ x 45″ (4″ + 4″ + 1″ on top of finished sized top)
I hope you enjoyed this quick tutorial on how to make a self-binding baby blanket. Send me your pictures of the joyful blankets you’ve made using this technique.

