Quilting is an exciting adventure of creation if one pays attention to detail. Otherwise, it can be extremely frustrating. One of the foundational steps in quilting is accurate fabric cutting. Whether you’re a beginner or an experienced quilter, mastering the art of fabric cutting is essential for creating beautiful, well-constructed quilts. Today, I’m going to discuss walk you through the process of cutting fabric for your quilting projects. Some practice will help you to master this vital step in your quilting success.
Gather Your Supplies
My husband always tells me that “having the right tools for the job is important.” He knows me well because typically I will try to find the cheapest and easiest way to do something. However, I’ve learned in quilting to buy the best you can afford. It will take the stress out of any project. As you read through the supplies, please note that I’m sharing my experiences. I know that over time you will find the tools that you like. Here are a few supplies to have on hand:
- Fabric: Choose high-quality quilting cotton in the colors and patterns you desire for your quilt.
- Cutting Mat: A self-healing cutting mat provides a smooth, protected surface for cutting fabric. If you are using a rotary cutter, this is a must have. I have several of these mats in different sizes. The one on my cutting table fits the whole table. I would try to start with a mat that is at least 18″ x 24″.
- Rotary Cutter: A rotary cutter with a sharp blade is essential for clean, precise cuts. There are many rotary cutters are the market. Some of them are very inexpensive. When I started quilting, I purchased an inexpensive Fiskars cutter. The only reason that I do not recommend a Fiskars cutter is because (in my experience) when pressure is put on the blade it tends to close. This is very frustrating. I’ve used many different rotary cutters over the years and I think that finding an ergonomic cutter is important. Martelli and Olfa both have ergonomic cutters that I like. If you decide on a Martelli, purchase the one for your cutting hand (right hand or left hand). That cutter is not interchangeable.
- Acrylic Ruler: An acrylic quilting ruler with clear markings and grid lines is crucial for accurate measurements. I do not recommend the Fiskars rulers as the markings tend to wear off. I feel that the Omnigrid rulers are a good buy if you watch for them on sale. Some of the rulers I suggest is a 6″ x 24″ or a 3″ x 18″. Either one of these could be used to cut yardage. Omnigrid sells a value pack of square rulers for 4″, 6″, 9″ and 12″ blocks. These are good to square your blocks up.
- Fabric Scissors: Of course, I believe that everyone needs a good pair of scissors to be used just for fabric. Beyond the big scissors, I really like these Fiskars curved blades. These are handy for making small cuts and trimming threads. They are relatively inexpensive.
- Iron and Ironing Board: Having an iron nearby helps you press fabric before cutting to remove wrinkles and ensure accurate measurements. I really think one could use two different irons. One to iron yardage and one for pressing as you sew. A little travel iron works well for this.
As an Amazon Associate I earn from qualifying purchases.

These are some of the items I use every time I cut yardage of material for quilting.
- Rulers: Fiskars 6″ x 24″ and Omnigrid 3″ x 18″
- Rotary Cutters: Olfa 60 mm and Martelli Ergonomic 45 mm
- 3 lb weight helps keep the ruler straight during cutting.
- Olfa 24″ x 36″ cutting mat
Prepare Your Fabric
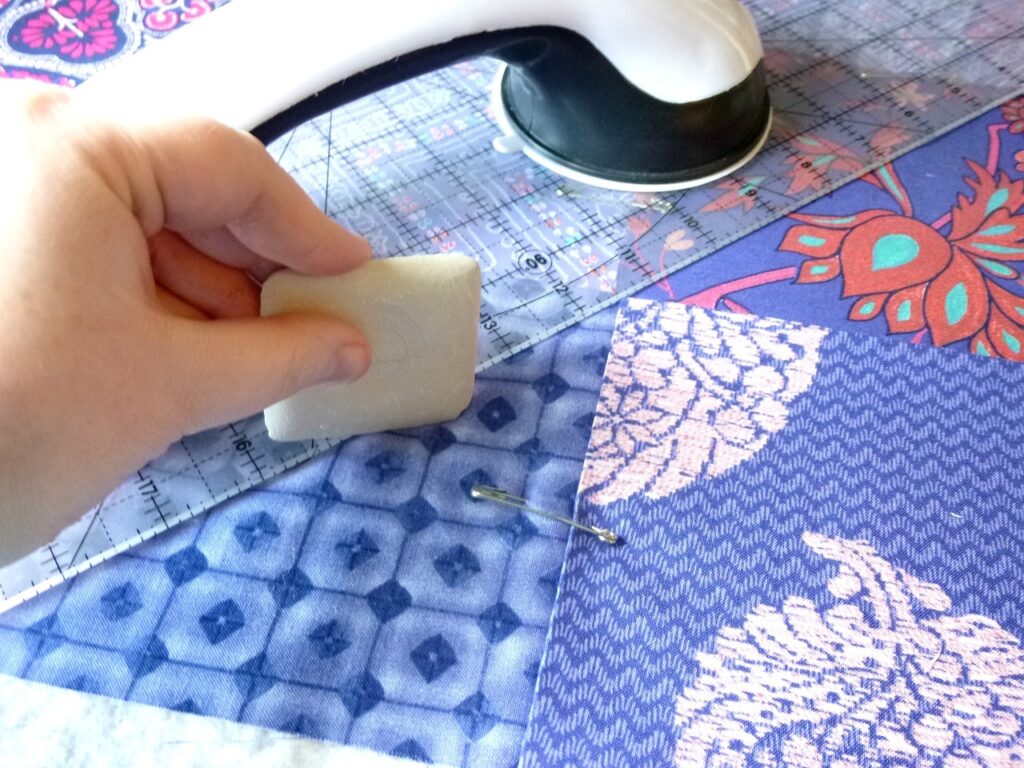
Accurate fabric cutting requires a little preparation. There are many different views of preparing your fabric. Some start by washing and ironing their fabric. This step removes any sizing or dirt from the fabric and ensures it is flat and free from wrinkles. Pressing your fabric also helps you align the grain properly, which is essential for accurate cutting. Others believe that you do not need to wash your fabric. They don’t want to loose the sizing that the manufacturer puts on the fabric. Another groups believes in starching your fabric.
I believe that it depends on the quality of the fabric, the color of the fabric, and how the item you are making is going to be used. Let me explain. Not all fabric is produced the same way. Certain dye processes (or even print processes) can lead to bleeding when the fabric is washed. Think of the red shirt washed with whites that turn pink. If you are going to put a solid color (typically red tones but sometimes other colors) with white or light pieces, there is a possibility of bleed. You could use a color catcher when you wash it but that may not help. So in these cases, I would prewash, then starch or use sizing when ironing.
Likewise, if the fabric purchased has wrinkles, I would use starch or sizing to make sure that it cuts straight. If the fabric is not a good quality fabric (low thread count) starching or sizing may help with accurate cuts.
Lastly, I may not want to prewash my fabric if the item to be made is a wall hanging. I may want to keep the look and feel of the fabric when I purchased it. Also, I may not want to wash the fabric if it is something other than cotton. Obviously, silk comes to mind.
I suggest prewashing if any of the fabrics you plan to use have already been washed. It would be terrible if shrinkage occurred after your item is pieced on the parts of the fabric that had not been prewashed. It would cause a bubble.
Choose Your Cutting Method
There are three primary methods for cutting fabric for quilting: using a rotary cutter and an acrylic ruler; using quilting templates and fabric scissors; or using a die cut system like AccuQuilt. Rotary cutting is useful when cutting yardage. When cutting pieces you may need to use a combination of methods. Rotary cutting has a benefit that you can cut multiple layers of fabric and be precise. Templates can be used with a rotary cutter or scissors. The AccuQuilt system or even the Sizzix Big Shot system can be expensive so many quilters start with a rotary cutter.
Measure and Mark
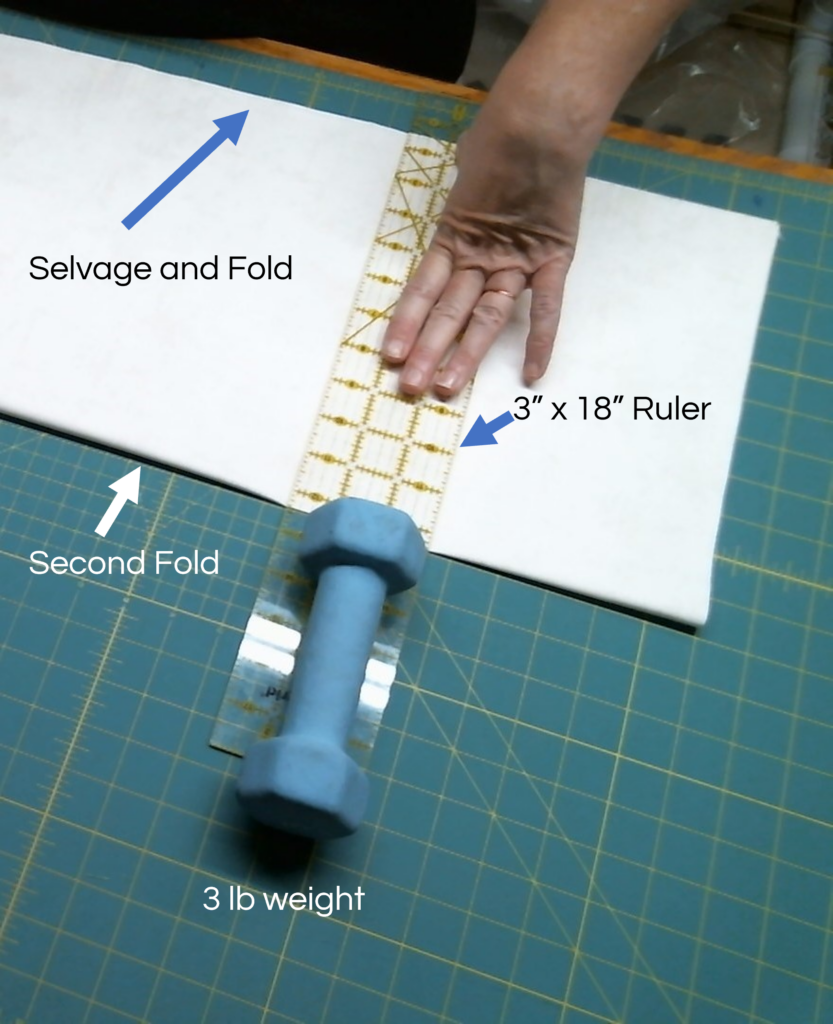
Now it’s time to put your fabric onto your cutting mat. Make sure that wrong sides are together and your selvages line up. Ensure it is smooth and wrinkle-free. Depending on your mat and ruler size, you may be able to cut the fabric without folding it again. However, it is easier if fold the fabric again matches the fold to the selvages. Use caution here to make sure that you do not have any wrinkles in your second fold or your piece will bow when it is cut. That is why many do not like to fold a second time. Use the acrylic ruler to measure the desired dimensions for your quilt pieces. Place the ruler on the fabric, aligning it with the markings on the mat to ensure straight cuts. I suggest adding a 5-lb dumbbell onto the end of the ruler to help keep it in place as you run the rotary cutter down the length of the ruler (see picture).
- Hold the rotary cutter with a firm grip and ensure the blade is sharp.
- Trim the raw edge of the fabric to ensure you have a straight edge.
- Align the ruler to the desired width. Double check the measurement before cutting.
- With gentle pressure, make a straight cut along the edge of the ruler. Keep your fingers away from the path of the rotary cutter to avoid accidents.
- For additional cuts, reposition the ruler and continue cutting until you have the desired number of pieces.
After cutting your fabric pieces, take a moment to double-check their measurements. Accuracy is essential in quilting, as even slight discrepancies can affect the final outcome. If necessary, re-trim any pieces that aren’t the correct size.
Organize and Label

To stay organized and avoid confusion, label your fabric pieces with their respective measurements or their position in the quilt block. This step will save you time and frustration during the piecing process. There are some good ways to mark you pieces. Some people label them with a pin that has a letter or number bead on it. I have used baskets in the past with labels on the basket. This way I could easily put the project away when needed. Even just pinning a sticky note with the identification (either the size or piece number) helps.
Practice Makes Perfect

Fabric cutting for quilting projects can be a skill that improves with practice. Don’t be discouraged if your first few cuts aren’t perfect. Over time, you’ll develop the muscle memory and confidence needed to cut fabric accurately. For some, this is where the AccuQuilt is handy, others may use electronic cutters like Cricut, Silhouette, or Brother’s Scan and Cut. These cutters all have pros and cons. Such as the amount of fabric that can be cut at a time or even the size of fabric that can be cut.
For me, I use a Sizzix Big Shot for most of my strips. Sizzix has discontinued their fabric dies but I was able to find some reasonably priced on e-Bay in the past. Although this die cutting system helps, I find that my initial cuts from yardage are with the rotary cutter.
Mastering the art of fabric cutting for quilting projects is a fundamental skill that sets the stage for a successful quilting journey. With the right tools, careful measurements, and patience, you can achieve precise and clean cuts, leading to beautifully crafted quilts. So, gather your supplies, prepare your fabric, and follow these tips to start your quilting project with confidence and precision. Happy quilting!